


Most backyard party lighting advice quietly assumes you own the place. Hardwired downlights, festoon poles set in concrete, an electrician on speed dial. Lovely, if that is your life. This page assumes a rental agreement, a Saturday, and a party that starts in a few hours.
Here is the good news: a properly lit backyard party does not need a single metre of installed wiring. No sparky, no drilling, no ladder, nothing the landlord ever needs to hear about. Everything below plugs in, spikes in, clips on or runs on batteries, sets up in 15 minutes or less, and packs down the next morning like it never happened.
Three complete lighting recipes follow, one for each kind of night. Pick yours and jump straight to it:
- The zero-wiring rule
- Recipe 1: the 21st (dance-floor energy)
- Recipe 2: the dinner party (warm close, stars beyond)
- Recipe 3: kids party or movie night
- Power point maths
- Common mistakes
- Backyard party lighting FAQ
The zero-wiring rule
One rule sits under everything on this page: if a light needs a screwdriver, a ladder or a licensed electrician, it is out. Every light has to plug into a standard power point, spike into the lawn, clip onto something that already exists, or run on batteries. That is the whole rule, and it is surprisingly easy to live by, because outdoor party lights have quietly become plug-and-play.
The heavy lifter is a garden laser projector: one unit on a ground spike that throws a green and blue starfield across the lawn, fence line and tree canopy from a single spot. The HighBright Garden Laser Light is the one used in all three recipes below. It is $275 at the moment (down from $349), rated 4.9 stars across 287 Australian reviews, and running in more than 10,000 Australian homes. One spike, one plug, whole-yard coverage.
Around that anchor light, everything else is small and cheap: battery candles, a clip-on festoon line, LED cups from the party box. The layering does the work, not the spend. And because none of it is fixed to anything, the same kit rearranges for every party. Dance floor by the deck this year, long table on the lawn next year, movie screen on the fence for the school holidays. Installed lighting cannot follow the party around. A tub of zero-wiring gear can.
For the deeper detail on how these projectors work, beam distance, colours and settings, the garden laser lights buying guide covers all of it.
Recipe 1: the 21st (dance-floor energy)
The brief: a yard that feels like a venue. Dark in the middle, alive around the edges, drinks that glow. This is the recipe for 18ths, 21sts, 30ths and any birthday where the playlist matters more than the seating plan.
What it takes: one garden laser projector, a sleeve of LED glow cups, a tub of ice, one outdoor power point, 15 minutes.
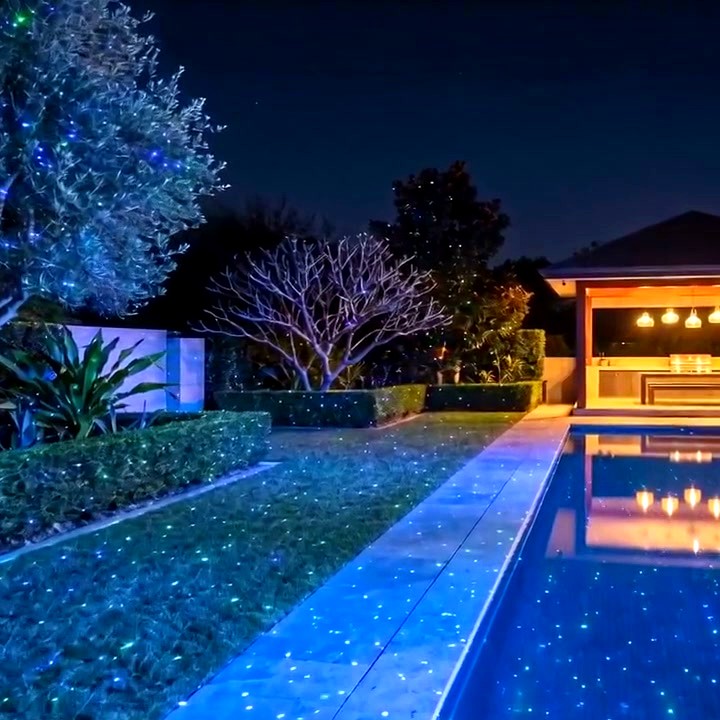
That frame is real footage from a poolside backyard, and it is a fair picture of what a single projector covers on its own.
The build order
- Minutes 0 to 5: place the starfield. Spike the laser into a garden bed or lawn three to five metres back from the dance area, angled low across the yard so the green and blue points rake the grass, the fence and any tree canopy. If there is a pool, let some of the coverage land on the water. The reflection doubles every point of light for free.
- Minutes 5 to 8: set the motion. Grab the remote and pick a moving or twinkle pattern with both colours running. Movement reads as energy, static reads as calm, and a dance floor wants energy. Put the projector on the opposite side of the yard from the speaker so the energy spreads.
- Minutes 8 to 12: glow at the drinks station. Park the ice tub at the edge of the darkest corner and stock it with LED glow cups. Every guest becomes a small moving light, nobody loses their drink in the dark, and the drinks table photographs ridiculously well.
- Minutes 12 to 15: cut the house lights. Switch off the porch flood, leave one warm lamp near the food, then do a lap of the yard and nudge the projector angle until every sightline has some sparkle in it.
Running total: one power point in use, under 10 watts of draw, and a backyard that no longer looks like a backyard.
Recipe 2: the dinner party (warm close, stars beyond)
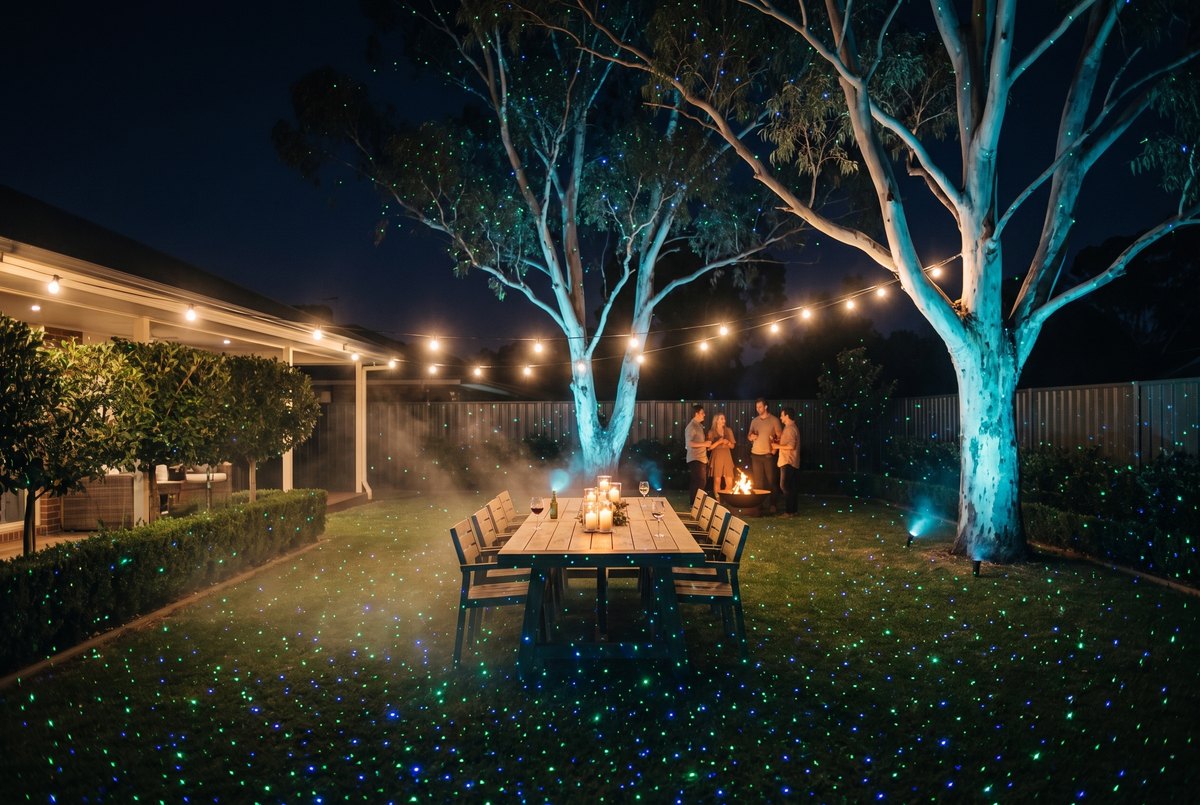
Dinner is the opposite brief. People sit still for hours and look at each other's faces, so the table wants low, warm light, while the garden beyond does the showing off. The formula is simple: warm where people sit, sparkle where they gaze.
What it takes: battery candles or candle bag lanterns, one plug-in festoon or fairy light line, the garden laser, one power point, 15 minutes.
The build order
- Minutes 0 to 6: candles down the spine of the table. Battery candles inside jars or candle bag lanterns are the wind-proof option, roughly one per two place settings. Real flames are fine on a still night, but batteries survive a sea breeze and a clumsy elbow.
- Minutes 6 to 10: one warm line overhead or behind. Clip a festoon or fairy line along the fence behind the table, or drape it from a pergola beam to a tree branch. Head height or above, sagging slightly between clips, warm white only. Cool white light flattens food and faces, so save it for the garage. Clips and pegs grip what already exists; no screws come out for a dinner party.
- Minutes 10 to 13: stars beyond the table. Spike the laser deeper in the garden, past the table and aimed away from the seating, set to a static or slow pattern. Guests get a green and blue starfield floating over each other's shoulders all night without a single dot landing on the dinner itself.
- Minutes 13 to 15: the dim check. Floods off, one indoor light left on for the path to the loo, then sit in an actual chair for a minute. If a guest's seat faces a dark blank fence, rotate the projector a few degrees until it does not.
Bunting, silk petals and table extras can come from the party decorations collection, but the lighting itself stays at three layers. Total draw is still under 20 watts on one power point.
Recipe 3: kids party or movie night
The crowd-pleaser. A sheet, a mini projector, a starfield sky and drinks that light up. Kids treat it like a cinema built specifically for them, and the adults up the back tend to agree.
What it takes: a white flat sheet and pegs, a mini projector on a table or esky, the garden laser, LED cups, blankets, one or two power points, 15 minutes.
The build order
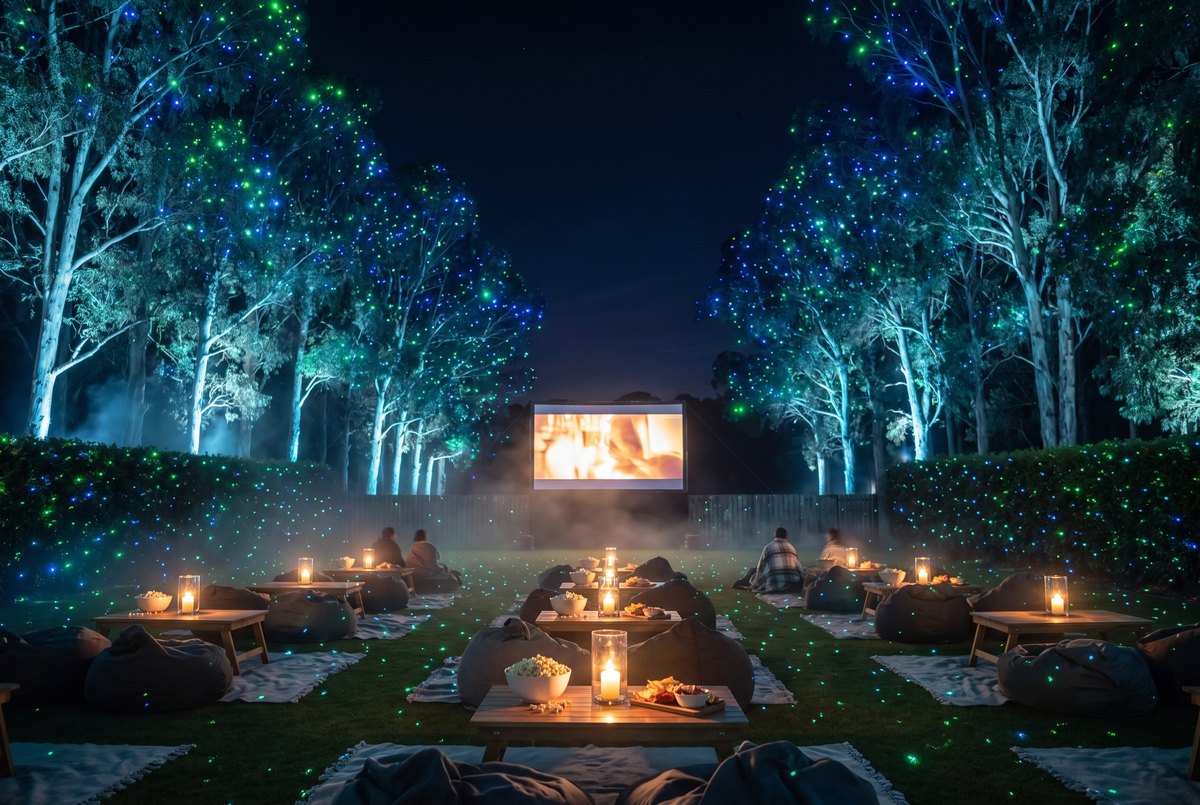
- Minutes 0 to 5: hang the screen. Peg a white flat sheet to the fence or clip it to the garage door, pulled tight at all four corners. Wrinkles show up on screen, so stretch it properly now rather than mid-movie.
- Minutes 5 to 9: projector on an esky. Set the projector two to three metres back on a table or esky lid, run a quick focus test, and queue the movie before guests arrive. Fiddling with HDMI in front of twelve seated seven-year-olds is nobody's finest hour.
- Minutes 9 to 12: starfield around the seating. Spike the garden laser behind the blanket zone, aimed at the side trees and fence line away from the screen. The seating ends up wrapped in green and blue stars while the picture stays crisp. Keep the unit low and angled up into foliage, never at eye level and never toward the screen.
- Minutes 12 to 15: the ground layer. Blankets, beanbags, pillows, and LED cups again so every drink is findable and semi-spill-proof in the dark. Lights off inside the house on the screen side, and roll it.
The lighting here still totals under 20 watts. The mini projector adds 30 to 90 watts depending on the model, and one weatherproof powerboard runs the lot.
Power point maths
Here is why none of this needs an electrician, in actual numbers. A standard Australian outdoor power point supplies 10 amps at 240 volts, which is 2,400 watts on tap. Now add up the biggest recipe on this page:
- Garden laser projector: about 8 watts
- Plug-in LED festoon line: about 10 watts
- Battery candles: zero from the wall
- LED glow cups: zero from the wall
That is roughly 18 watts of lighting. Every recipe here lands under 50 watts total, which is about 2 per cent of what a single power point can supply. Movie night's projector nudges the number up and still barely registers. The days of party lighting tripping a breaker ended when halogen died.
Running cost tells the same story. A 20 watt setup running for five hours uses 0.1 kilowatt hours, which works out to three or four cents at typical Australian rates. The lighting for an entire party costs less than a jelly snake.
The practical translation: one outdoor power point plus one weatherproof powerboard runs everything, plus an outdoor-rated extension lead if needed. A second point only earns a job when the screen wall and the garden bed sit on opposite sides of the yard.
Common mistakes (all avoidable)
Three things flatten more backyard parties than bad weather does:
- Overlighting faces. A flood light aimed at the guests turns the yard into a carpark at 9pm. Light the surfaces instead: lawn, fence, trees, table. Faces should sit in the soft spill of warm light, not the beam itself.
- No dark zones. Sparkle only reads against darkness. If every corner of the yard is lit, nothing stands out and the starfield disappears into the wash. Leave at least a third of the yard dark on purpose. The one exception: keep the route to the back door and the loo gently lit all night.
- Cords across walkways. The classic. Run leads along fence lines and garden edges, tape them flat at doorways, and use battery lights on any route people walk with a drink in each hand. A great lighting setup loses all credit the moment someone eats the lawn.
Backyard party lighting FAQ
Does outdoor party lighting need an electrician?
Not this kind. Anything hardwired into the house legally requires a licensed electrician in Australia, but plug-in, spike-in and battery lighting is exactly the category that avoids all of that.
How many lights does a backyard party actually need?
Fewer than most people buy. Three layers cover almost any party: one effect light that covers the whole yard, one warm layer where people sit or eat, and one glow accent people hold or drink from. Adding more lights usually just removes the dark zones that made the yard look good in the first place.
Are garden lasers safe around kids and pets?
Used the way these recipes describe, yes. The unit sits low on its spike and angles up into foliage and fences, lighting surfaces rather than eyes. Never aim one at face height, at the movie screen, or up into open sky, and the whole yard stays kid-chaos-proof.
What happens if it rains on the gear?
The HighBright is IP65 weatherproof and built for Australian backyards, backed by a 12-month warranty, with stock held in QLD. Rain on the projector is a non-event. The powerboard is the only fragile link, so keep it under cover and off the ground.
Will any of this leave marks on a rental?
No screws, no hooks, no drilled holes appear anywhere in these recipes. Ground spikes, pegs, clips and batteries only. The whole setup packs into one tub the next morning, the yard goes back to exactly how it was, and the bond never enters the conversation.
That is the whole manifesto: one anchor light, one warm layer, one glow accent, under 50 watts, zero wiring. Set up in 15 minutes, host the night, pack it down by breakfast, and keep the same tub of gear ready for whatever gets celebrated next.
THE ZERO-WIRING WORKHORSE
HighBright Garden Laser Light
$349 $275
4.9 stars from 287 Australian reviews · 10,000+ Australian homes · QLD stock · 12-month warranty
See the HighBright →IP65 weatherproof · Green + blue starfield · One power point, under 10 watts

